

How to Assemble RTA Base Cabinets: Step-by-Step DIY Guide
by Gary Wade • October 20, 2023
Ready-to-Assemble (RTA) base cabinets have become increasingly popular among homeowners and DIY enthusiasts. These cabinets offer a convenient and cost-effective solution for those looking to upgrade their kitchen or bathroom. In this step-by-step guide, we will explore how to assemble RTA base cabinets and provide you with all the information you need to become a pro at constructing them.
Advantages of RTA Base Cabinets
RTA base cabinets come with several advantages that make them an attractive option for homeowners. First and foremost, they are much more affordable compared to pre-assembled cabinets. By opting for RTA cabinets, you can save a significant amount of money without compromising on quality.
Additionally, RTA cabinets are easy to transport. Since they come in flat-pack boxes, they take up less space during shipping, making them a convenient option for those who need to transport them to their home. This also means that RTA cabinets are readily available, as they can be shipped directly to your doorstep.
Another advantage of RTA base cabinets is the flexibility they offer in terms of customization. With a wide range of styles, finishes, and sizes available, you can easily find RTA cabinets that match your specific design preferences and fit perfectly in your space.
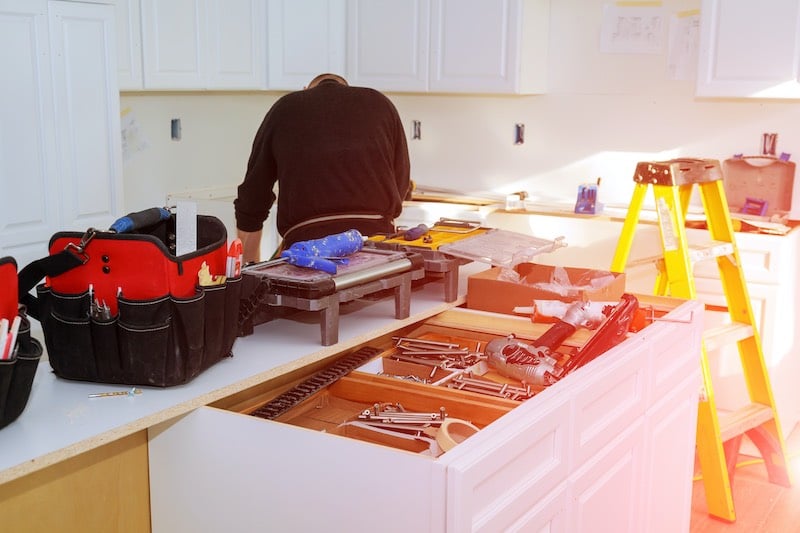
Tools and Materials Needed for Assembly
- Power drill with a Phillips head bit or a Phillips head screwdriver
- Dead blow hammer or rubber mallet
- Staple gun (air-powered pneumatic staple gun recommended, but a manual staple gun will work too)
- 3/8 or 10mm staples for your staple gun
- Bottle of wood glue
- Pneumatic pin nailer (optional, but helpful for assembling drawers quickly)
- Hammer and 2D finish nails (if not using a pneumatic nailer)
- Pencil
In addition to these tools, make sure you have a clean and spacious workspace where you can lay out all the cabinet components and work comfortably. It's also a good idea to have some extra screws and nails on hand, just in case.
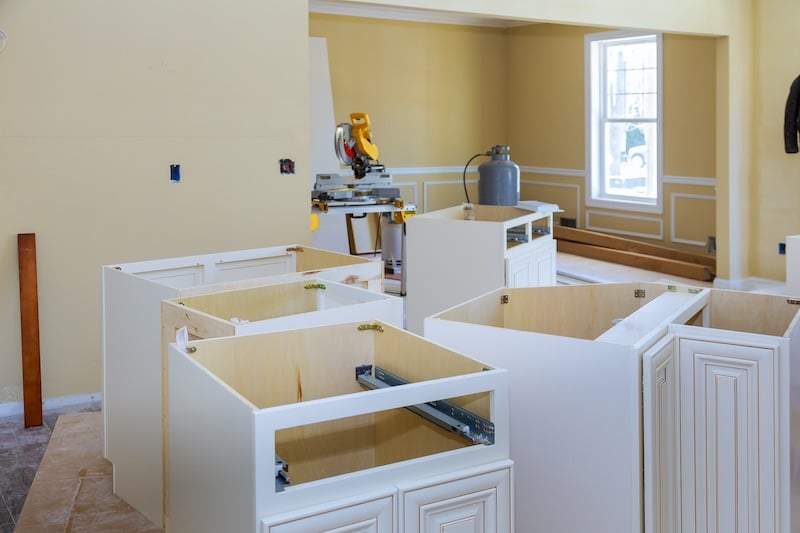
Preparing for Your Area for Assembly
Before you dive into the assembly process, take some time to familiarize yourself with the instructions provided by the manufacturer. Carefully read through the assembly manual and make sure you understand each step before proceeding.
Next, lay out all the cabinet components on a clean and flat surface. Take inventory of all the parts and ensure that you have everything you need. This will help you avoid any surprises during the assembly process.
It's also a good idea to organize the components based on their sizes and types. This will make it easier for you to locate the necessary parts as you progress through the assembly steps. Use small containers or labeled bags to keep screws, nails, and other small hardware organized.
Step-by-Step Guide to Assembling RTA Base Cabinets
Now that you're fully prepared, let's dive into how to assemble your RTA base cabinets. Follow these instructions carefully, and you'll have your cabinets ready in no time:
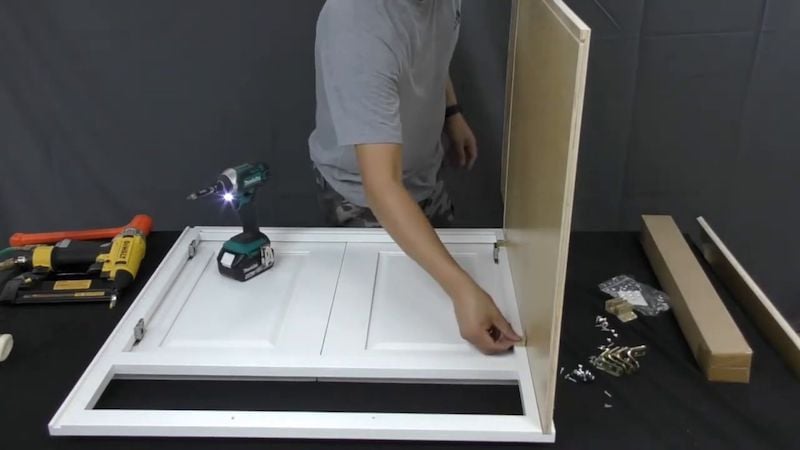
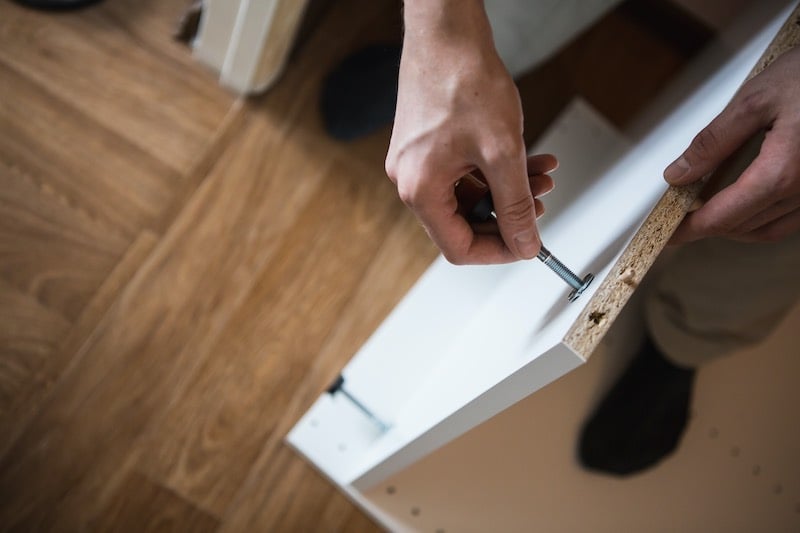
Step 1: Attach the Side Panels
Start by attaching the side panels to the top and bottom panels using the provided screws. Make sure the panels are aligned properly and use a level to ensure they are straight. Repeat this step for each cabinet you are assembling.
Step 2: Install the Shelves and Back Panel
Next, insert the shelves into the cabinet, making sure they are secure. Then, attach the back panel to the cabinet using screws or nails, following the manufacturer's instructions. This will add stability to the cabinet structure.
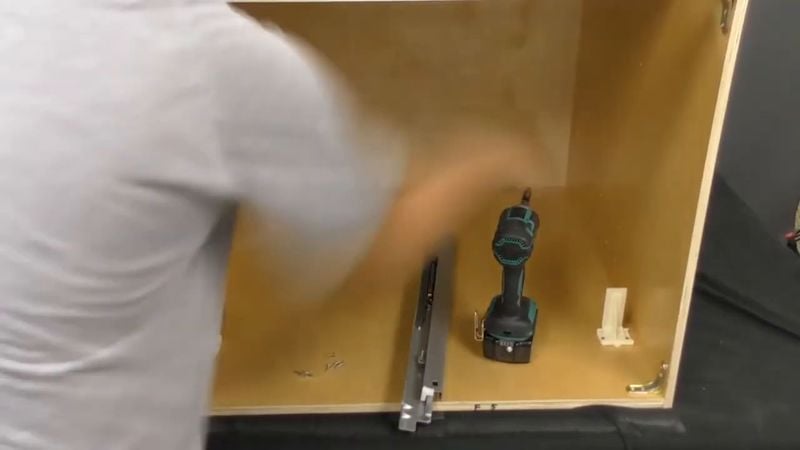
Step 3: Attach the Drawer Glides and Drawer Front
If your RTA base cabinet includes drawers, now is the time to install the drawer glides. Follow the instructions provided to attach them correctly. Once the glides are in place, attach the drawer front securely using screws or other hardware provided.
Step 4: Install the Doors
If your RTA base cabinet includes doors, install them according to the manufacturer's instructions. Use the provided hinges and screws to attach the doors securely to the cabinet. Adjust the hinges if necessary to ensure the doors open and close smoothly.
Troubleshooting Common Assembly Issues
While assembling your RTA base cabinets, you may encounter some common issues. Here are a few troubleshooting tips to help you overcome them:
Issue 1: Misaligned Panels
If the panels of your cabinet are not aligning properly, double-check that you have followed the instructions correctly. Make sure all the screws are tightened, and use a rubber mallet or a hammer with a piece of scrap wood to gently tap the panels into place.
Issue 2: Sticky Drawer Glides
If the drawer glides are not sliding smoothly, apply a small amount of wax or lubricant to the glides. This will help reduce friction and ensure the drawers open and close effortlessly.
Issue 3: Uneven Doors
If the doors of your cabinet are not level or aligned, adjust the hinges accordingly. Use a screwdriver to loosen or tighten the screws on the hinges until the doors are properly aligned. You may need to make small adjustments multiple times to achieve the desired result.
Tips for a Seamless Assembly Process
To make the assembly process even smoother, here are some additional tips to keep in mind:
- Read the instructions thoroughly before starting the assembly.
- Lay out all the components and organize them based on their sizes and types.
- Use clamps to hold parts together securely while you work.
- Double-check your work at each step to ensure everything is aligned and secure.
- Take breaks when needed to avoid fatigue and maintain focus.
- Ask for help if the cabinets are too heavy or complex to assemble on your own.
By following these tips, you'll be able to assemble your RTA base cabinets with ease and precision.
Finishing Touches and Installation Considerations
Once you have successfully assembled your RTA base cabinets, it's time to add the finishing touches and consider the installation process. Here are a few things to keep in mind:
- Fill any visible screw or nail holes with wood filler and sand them down for a smooth finish.
- Apply the desired paint or stain to match the rest of your kitchen or bathroom decor.
- Allow the paint or stain to dry completely before installing the cabinets.
- Measure and mark the wall where you plan to install the cabinets, ensuring they are level and properly aligned.
- Use appropriate hardware and screws to secure the cabinets to the wall, following the manufacturer's instructions.
Remember to take your time during the finishing and installation stages to ensure a professional and polished look for your RTA base cabinets.
Final Thoughts
Congratulations! You've now become a pro at assembling RTA base cabinets. By following this step-by-step assembly guide, you can confidently tackle your next kitchen or bathroom renovation project. Remember to take your time, read the instructions carefully, and use the provided tips and troubleshooting techniques to overcome any challenges you may encounter. With your newly acquired skills, you can enjoy the benefits of cost-effective and customizable RTA base cabinets in your home.
So, what are you waiting for? Discover how to assemble RTA base cabinets and transform your space today!
Learn How to Assemble RTA Base Cabinets
overall rating: my rating: log in to rate
